I’m running away with myself on these blog posts and actually catching up with the synth build! eeek!
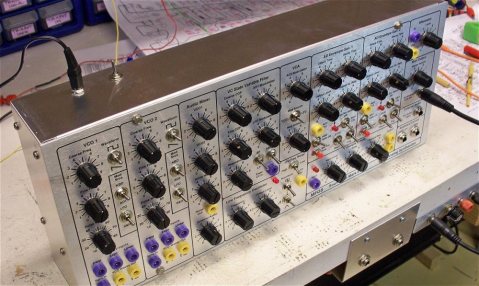
So in this post I’ll show you some pretty pictures of all the knobs, switches and wiring. Also I’ll be saying “knob” a lot. Perhaps this is lost on non-UK audiences, so I’ll try and squeeze some other euphemisms in for the rest of you.


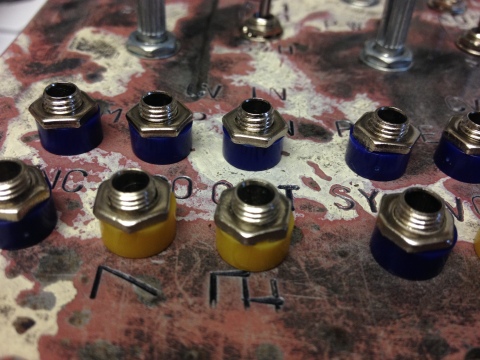
I found that getting the little nuts tight worked well with a just a socket from a socket set. and tightening by hand.
Not much more to say on that except that once you’ve screwed it all tight then it’s time to get wiring
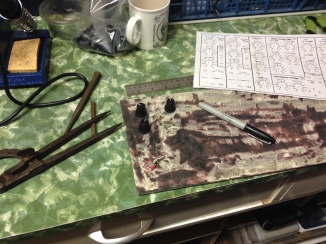
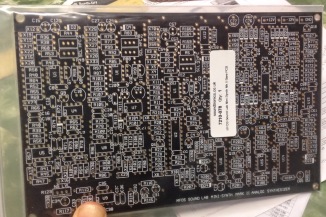
Oh but I nearly forgot, check out the PCB mounts, yes they are chocks of wood with motherboard mounting screws glued into them. And PVA glue holding them into the plywood panel. I actually put a line of glue around the base of each block similar to applying silicone sealant, which so far is holding, but time will tell. Very cheap! FTW!


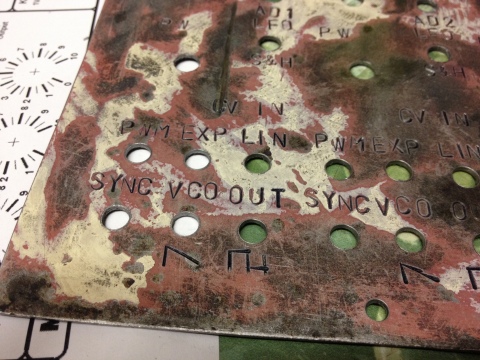
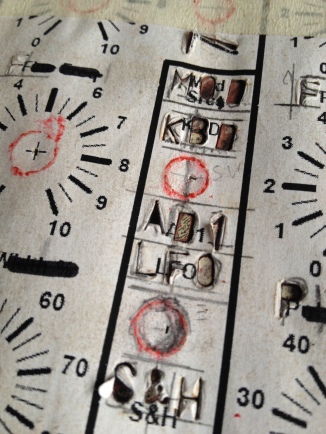
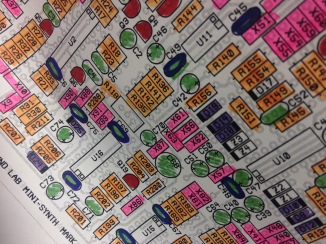
I coloured in my wiring diagram and sort of followed it, I perhaps should have been more methodical about this but I just kind of went for it, hope I haven’t missed anything. I followed it one colour at a time, but doing it in bits here and there meant I found some un-soldered or missed out wires further down the line. So be very thorough is what I’m saying. Also the Coax isn’t labelled and I’ve actually missed out some coax and used normal wire, so will see what happens, I can always add it later if there is too much noise. I mean seems a bit daft to use coax on the noise pot? So I only have coax going from the audio in to its level pot. The instructions suggest using coax for all audio signal connections, which is anything going to the mixer pots.

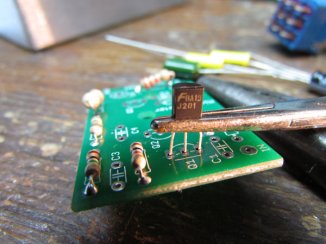
Some useful little tricks I learnt when putting a resistor in line with some wire, was to essentially poke the resistor lead into the sleeve of the wire, holding it in place while I soldered. Similarly I did the same with the LED legs, attaching the wire by pushing it onto the leg and being held by the sleeve.


I also found I could make multiple connections from pot to pot with one piece of wire. I just removed part of the sleeve in the middle of the wire and popped it over the pot tab and twisted it on, doing the same for the rest. This saves having to hold about three wires in place on one pot tab.
Still more to go on this you are now officially up to date, so its real time progress from here on in people, lucky you!
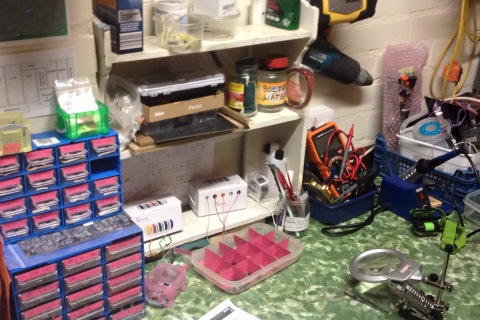
Perhaps you’d be interested in a live feed from my workshop, It’s pretty much a cable a day so you’d be in for gripping viewing. Again, leave it in the comments.
Better get soldering!